Underlayment
Install 3/4 inch thick suitable substrate on cabinets. Cut out opening for sink and other appliances.
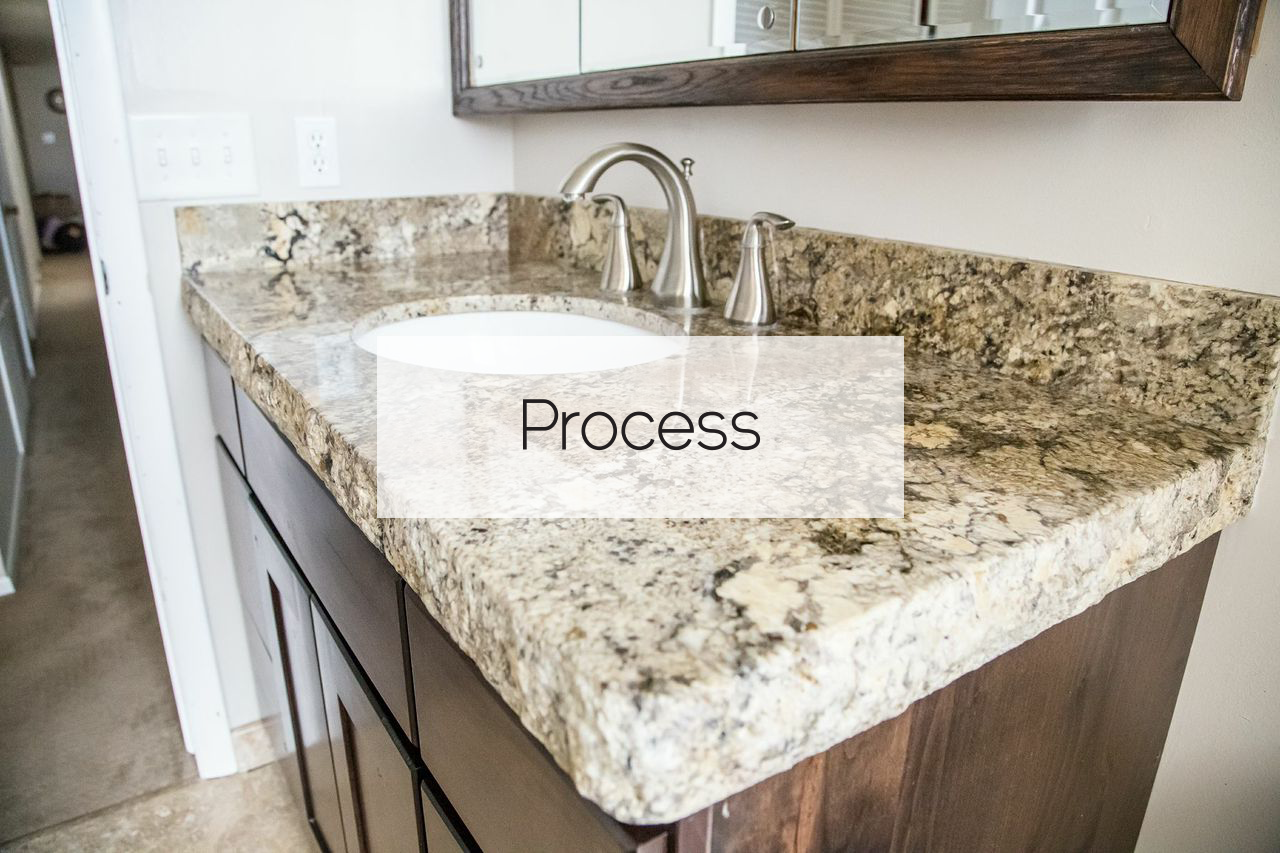
Placement
Place prefabricated under-mount sink module in desired location. Then dry fit remaining pieces to determine the best layout. If possible, place seams in the center of a cutout. Lay the last piece down to be measured and cut.
Cutting the Product
Mark and cut the inside corners at a 45-degree angle from the point where the fabricated edge ends on the underside of each module piece. Dry fit pieces into place. Measure the width and length of the inside corner area. Take a modular piece and cut off the prefabricated edge, then cut to size. Measure and cut to fit the last piece. Install the under mount sink on the underlayment at this time.
Installation
Use a quarter size amount of construction adhesive on all corners and in the middle of the module. Place extra adhesive on pieces around the appliance and sink openings. Drop piece into place, pushing gently until secure. To level the installed pieces, use shims from underneath the underlayment until desired level is obtained.
Seams
Place a strip of masking tape on both sides of the seam as close as possible. Use knife grade epoxy that has been pre-colored to fill the seam. With a putty knife work epoxy into seam until smooth. Immediately remove tape. Do not disturb the wet seam. Allow at least 5 minutes for the epoxy to cure. With a sharp razor blade, clean the surface of the seam to create a smooth joint being careful not to dig at the seam.